About This Expression
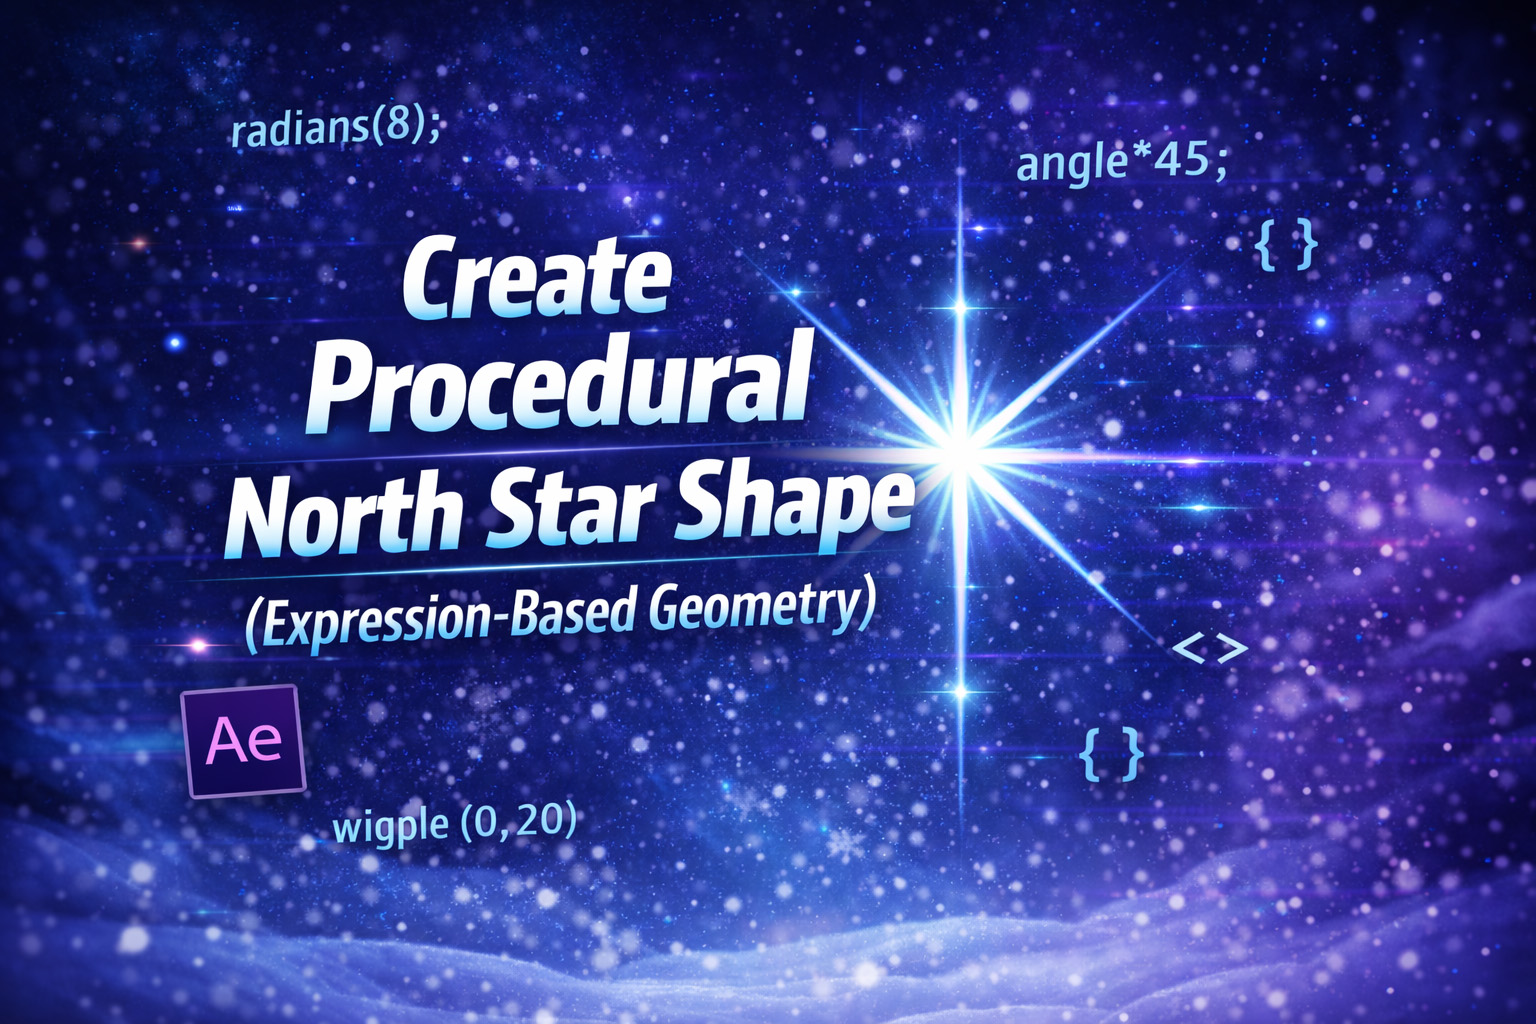
This expression procedurally generates a North Star–style shape using pure mathematical plotting. Instead of drawing a star manually, it calculates each point using trigonometry and connects them into a clean, scalable vector path.
The star is based on a 4-point geometry, alternating between an inner and outer radius to form sharp spikes. To create the iconic North Star look, the vertical points are deliberately extended, resulting in elongated top and bottom tails that feel celestial and radiant.
Because the shape is generated through code, it remains perfectly symmetrical, resolution-independent, and easy to modify.
How the Geometry Works
- Points & Angles
The loop runs through twice the number of points, alternating between inner and outer radii to create the star’s spikes. - Radius Switching
Even-numbered points use the outer radius, while odd-numbered points use the inner radius, producing sharp star arms. - Vertical Emphasis
The top and bottom points are multiplied by1.5, stretching them vertically and giving the star its signature guiding-light appearance. - Vector Path Output
All calculated points are passed intocreatePath(), resulting in a closed, editable vector shape.
Expression
innerRadius = 50;
outerRadius = 300;
points = 4;
pts = [];
for (i = 0; i < points * 2; i++) {
 angle = (i / (points * 2)) * Math.PI * 2;
 r = (i % 2 === 0) ? outerRadius : innerRadius;
 // Add elongated vertical tail for North Star look
 if (i === 0 || i === points) r *= 1.5;
 x = Math.cos(angle) * r;
 y = Math.sin(angle) * r;
 pts.push([x, y]);
}
createPath(pts, [], [], true);
How We Use This Expression
Step 1: Create a Shape Layer
- Open your composition in After Effects
- Go to Layer → New → Shape Layer
- Select the shape layer
This expression works on a shape path, not on a solid or text layer.
Step 2: Add a Path
- Twirl open the shape layer
- Go to Contents → Shape 1
- Click Add → Path
This creates a vector path that can be driven by an expression.
Step 3: Apply the Expression to the Path
- Twirl open Path 1
- Hold Alt (Windows) / Option (Mac) and click the Path stopwatch
- Paste the full North Star expression into the editor
- Click outside the editor to apply
The path will instantly form a symmetrical North Star shape.
Step 4: Center and Scale the Star
- The star is generated from the shape layer’s center
- Use Transform → Position to place it in your comp
- Use Transform → Scale to resize it cleanly
Avoid editing the path points manually—let the expression control the geometry.
Step 5: Style the Star
You can now design the star visually:
- Add Fill (white, gold, or gradient)
- Add Stroke for sharp highlights
- Apply Glow for a radiant look
- Use Blur for soft sparkles
The expression controls the shape; effects control the appearance.
Step 6: Customize the Star Shape
Inside the expression, adjust:
innerRadius→ sharp or soft pointsouterRadius→ star lengthpoints→ number of star arms- Vertical tail length by changing the
1.5multiplier
Changes update instantly and stay perfectly symmetrical.
Step 7: Animate for Sparkle Effects
This expression is ideal for animation:
- Rotate the shape for twinkle motion
- Animate Scale for pulsing light
- Animate Opacity for sparkle flashes
Because it’s vector-based, all motion stays crisp.
Step 8: Duplicate for Multiple Stars
To create constellations or sparkles:
- Duplicate the shape layer
- Move and scale each copy differently
Each star remains clean and consistent with no redrawing needed.
Best Use Cases in After Effects
- North Star & celestial visuals
- Sparkle and shine effects
- Logo highlights
- Magical or fantasy scenes
- UI highlights and icons
Recent Blogs
-
Create Procedural Spiral Path (Dynamic Vector Spiral Expression)
-
Animated 2D DNA Helix Path (Procedural Helix Expression)
-
Text Glitch Effect Expression (Real-Time Character Corruption)
-
Auto Scale to Comp (Smart Fit & Fill Scale Expression)
-
Snap to Layer or Comp Corners (Dynamic Alignment Expression)
-
Rainbow Color Cycle (Seamless HSL Color Loop Expression)
-
Christmas Lights Color Generator (Procedural Holiday Palette Expression)
-
Neon Light Flicker (Organic Electrical Glitch Expression)
-
Hanging Ornament Sway Animation (Natural Pendulum Rotation Expression)
-
Bell Shake & Ring Motion (Impact-Driven Oscillation Expression)