About This Expression
This expression procedurally generates a realistic candle flame shape using vector geometry and Perlin noise. Instead of relying on simulations, particles, or pre-rendered footage, the flame is built from a small set of mathematically controlled points that deform naturally over time.
At its core, the shape is a teardrop curve, a form commonly associated with flames. What makes it feel alive is the subtle, continuous distortion driven by noise—causing the flame to flicker, bend, and stretch just like real fire responding to air movement.
Because it’s vector-based, the flame remains sharp at any resolution and can be styled or animated without degradation.
How the Flame Motion Works
- Base Shape
The flame is defined using four main points: bottom anchor, left curve, tip, and right curve. - Noise-Driven Tip
The tip position is influenced by Perlin noise, making it sway horizontally and fluctuate vertically. This mimics how hot air rises and flickers unpredictably. - Smooth Curvature
Custom in-tangents and out-tangents ensure the flame stays smooth and organic rather than sharp or mechanical. - Index-Based Variation
Using the layer index inside the noise function allows multiple flames to move uniquely while following the same behavior rules.
Expression
w = 100; // Width of flame
h = 200; // Height of flame
noiseScale = 15; // How erratic the wind is
windSpeed = 8; // Generate Noise for the tip of the flame
n = noise([time * windSpeed, index]);
pBottom = [0, h/2];
pLeft = [-w/2, h/4];
pRight = [w/2, h/4];
// The Tip moves based on noise
pTip = [n * noiseScale * 2, -h/2 + Math.abs(n) * noiseScale];
points = [pBottom, pLeft, pTip, pRight];
// Tangents for smooth curves
inT = [[0,0], [0, h/3], [0, 0], [0, -h/3]];
outT = [[0,0], [0, -h/3], [0, 0], [0, h/3]];
createPath(points, inT, outT, true);
How We Use This Expression
Step 1: Create a Shape Layer
- Open your composition in After Effects
- Go to Layer → New → Shape Layer
- Make sure the shape layer is selected
This expression works on a shape path, not a text or solid layer.
Step 2: Add a Path
- Twirl open the shape layer
- Go to Contents → Shape 1
- Click Add → Path
You now have a path that can be controlled by an expression.
Step 3: Apply the Expression to the Path
- Twirl open Path 1
- Hold Alt (Windows) / Option (Mac) and click the Path stopwatch
- Paste the full flame expression into the expression editor
- Click outside the editor to apply
The shape will instantly turn into a flame.
Step 4: Position the Flame Correctly
- The flame is generated from the center of the shape layer
- Use the Transform → Position of the shape layer to place it above a candle wick or diya
Do not move the path points manually—let the expression control the shape.
Step 5: Style the Flame
Now you can design it visually:
- Set Fill color to yellow, orange, or gradient
- Add Glow for realism
- Use Blur or Turbulent Displace subtly if needed
The expression controls the motion; effects control the look.
Step 6: Adjust Flame Behavior
Inside the expression, tweak:
w→ wider or thinner flameh→ taller or shorter flamenoiseScale→ calm vs flickering flamewindSpeed→ slow burn or windy movement
Changes update instantly in real time.
Step 7: Duplicate for Multiple Flames
To create multiple candles:
- Duplicate the shape layer
- Move each copy to a new position
Because the expression uses index, every flame flickers slightly differently—no extra work required.
Step 8: Loop & Render Safely
- The noise-driven motion loops naturally
- No keyframes needed
- Renders cleanly without popping or jumps
Perfect for long loops, reels, or ambient visuals.
Best Use Cases in After Effects
- Candle & diya animations
- Festive videos (Diwali, Christmas, prayer visuals)
- Minimal fire icons
- Logo reveals with flame accents
- Calm ambient backgrounds
Recent Blogs
-
Create Procedural Spiral Path (Dynamic Vector Spiral Expression)
-
Animated 2D DNA Helix Path (Procedural Helix Expression)
-
Text Glitch Effect Expression (Real-Time Character Corruption)
-
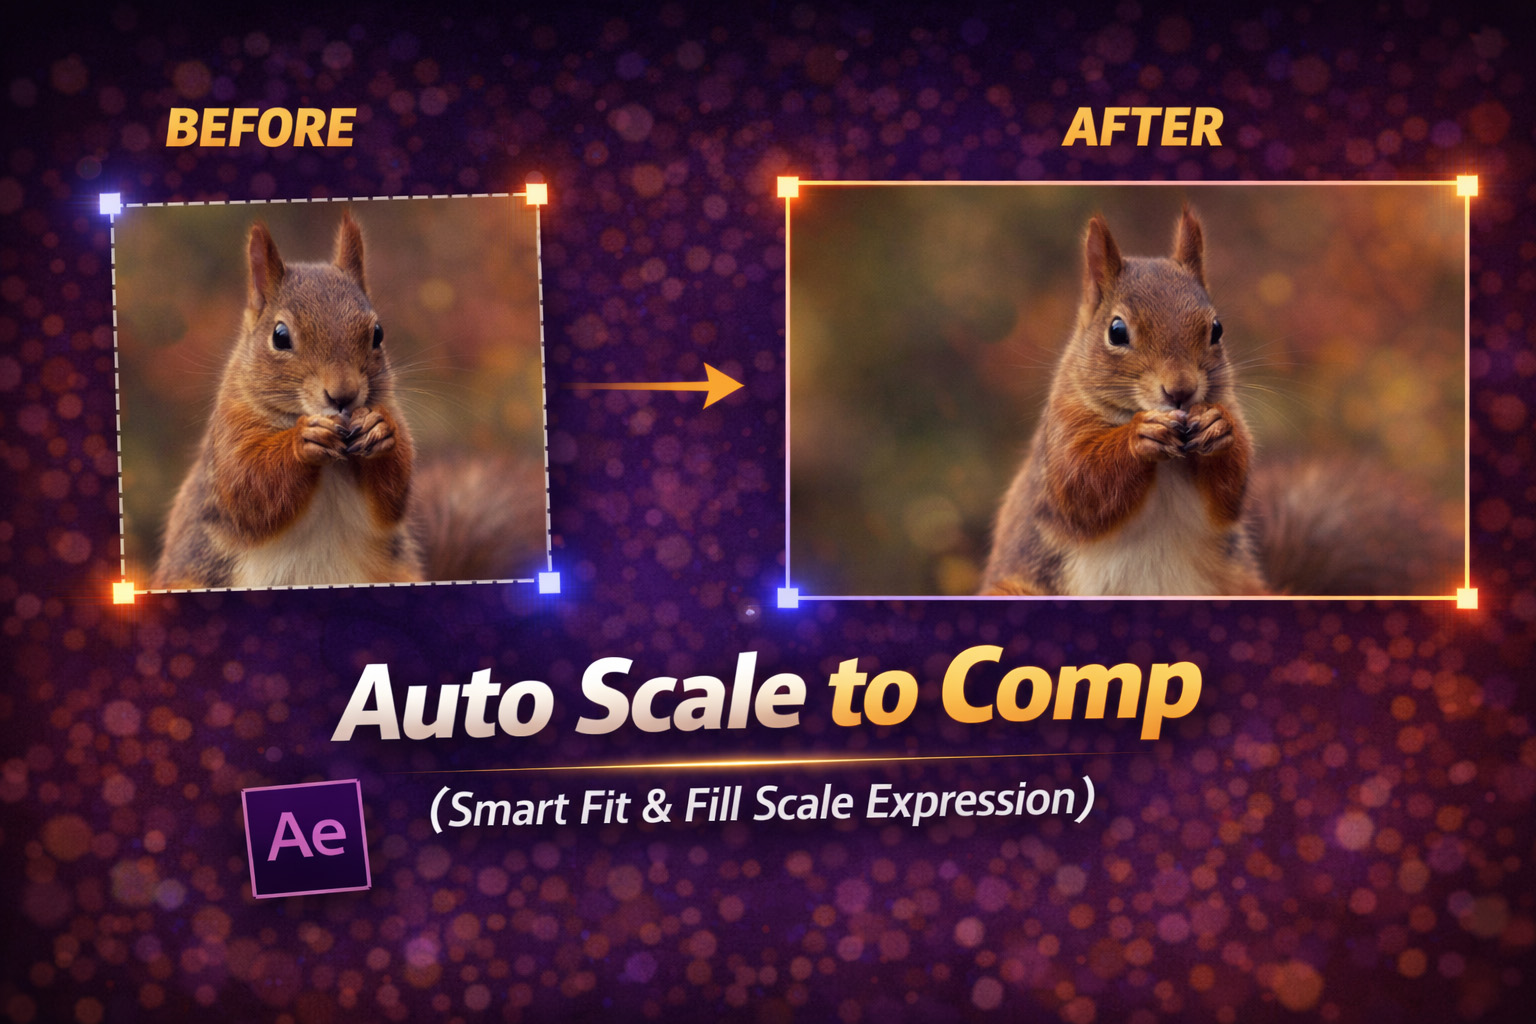
Auto Scale to Comp (Smart Fit & Fill Scale Expression)
-
Snap to Layer or Comp Corners (Dynamic Alignment Expression)
-
Rainbow Color Cycle (Seamless HSL Color Loop Expression)
-
Christmas Lights Color Generator (Procedural Holiday Palette Expression)
-
Neon Light Flicker (Organic Electrical Glitch Expression)
-
Hanging Ornament Sway Animation (Natural Pendulum Rotation Expression)
-
Bell Shake & Ring Motion (Impact-Driven Oscillation Expression)