About This Expression
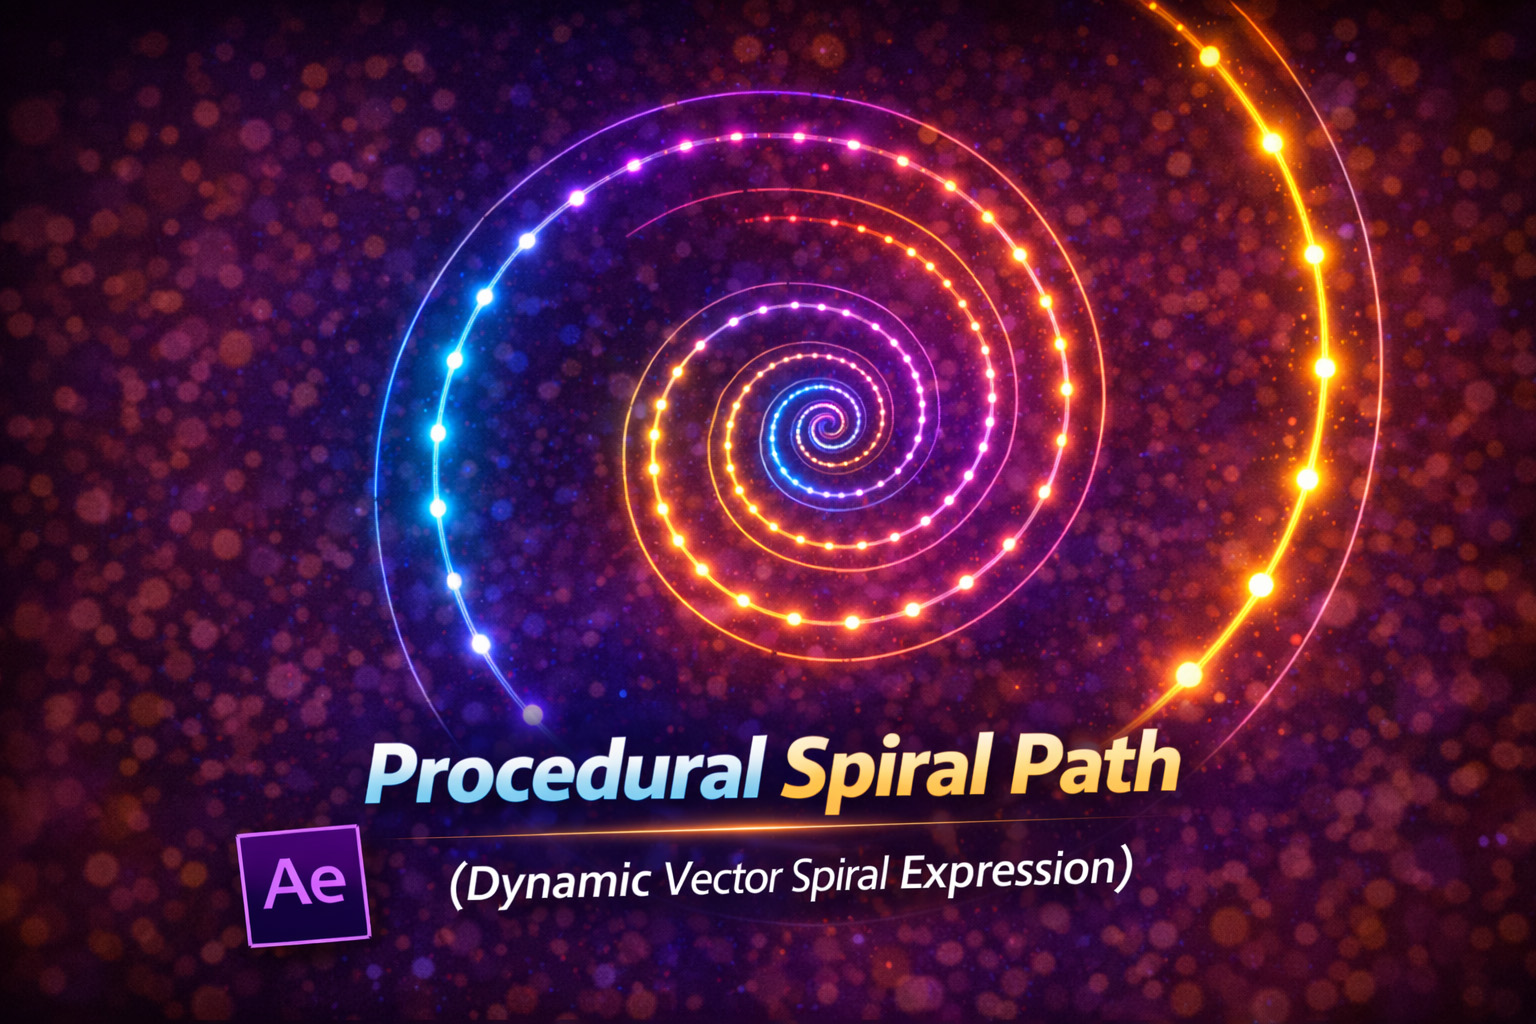
This expression generates a fully procedural spiral path using mathematical formulas instead of manually drawn shapes. The spiral grows outward smoothly from the center, with its shape controlled entirely by sliders.
Because the path is procedural, it updates in real time as you change values like radius, number of turns, or point density. There are no keyframes, no redraws, and no guessing—just clean, precise geometry every time.
This makes it ideal for motion graphics where flexibility, accuracy, and scalability matter.
How the Spiral Logic Works
- Normalized Progress (
t)
Each point is placed progressively along the spiral from center to edge. - Angular Rotation
The angle increases based on the number of turns, creating the spiral motion. - Radial Growth
The radius increases linearly, causing the spiral to expand outward. - Vector Path Output
All points are combined into a smooth, editable shape path.
Expression
// Apply to Path
turns = effect("Turns")("Slider");
rad = effect("Radius")("Slider");
pnts = effect("Points")("Slider");
pts = [];
for (i = 0; i <= pnts; i++){
 t = i / pnts;
 angle = t * Math.PI * 2 * turns;
 r = t * rad;  x = Math.cos(angle) * r;
 y = Math.sin(angle) * r;
pts.push([x, y]);
}
createPath(pts, [], [], false);
How We Use This Expression
Step 1: Create a Shape Layer
- Open your composition
- Go to Layer → New → Shape Layer
- Select the shape layer
This expression must be applied to a Shape Path.
Step 2: Add a Path
- Twirl open the shape layer
- Go to Contents → Shape 1
- Click Add → Path
You now have a path ready for procedural control.
Step 3: Add Expression Controls
On the same shape layer, add:
- Slider Control → rename to
Turns - Slider Control → rename to
Radius - Slider Control → rename to
Points
These sliders give you full control over the spiral’s shape and smoothness.
Step 4: Apply the Expression to the Path
- Twirl open Path 1
- Hold Alt (Windows) / Option (Mac) and click the Path stopwatch
- Paste the full expression
- Click outside the editor
The spiral will instantly appear in the comp.
Step 5: Customize the Spiral
Adjust the sliders:
- Turns → tight or loose spirals
- Radius → overall size
- Points → smooth vs stylized look
Higher point counts create smoother spirals; lower values create angular or graphic styles.
Step 6: Animate the Spiral
You can easily animate:
- Turns → growing or unwinding spirals
- Radius → expanding or collapsing motion
- Rotation (layer transform) → hypnotic effects
All animation stays perfectly clean because the geometry is procedural.
Step 7: Style the Spiral
Once the shape is generated, enhance it with:
- Stroke and animated stroke width
- Trim Paths for draw-on effects
- Glow for sci-fi or neon looks
- Gradients for depth and motion
The expression controls structure; effects control appearance.
Best Use Cases in After Effects
- Abstract motion graphics
- Hypnotic or psychedelic visuals
- Logo reveals
- Data visualization
- UI & HUD elements
- Background design loops
Why Procedural Spirals Are So Useful
Manual spiral drawing limits flexibility. This expression turns the spiral into a rule-based system, giving you:
- Infinite scalability
- Instant iteration
- Perfect mathematical accuracy
- Easy template reuse
Once set up, you’ll never need to draw a spiral by hand again.
Recent Blogs
-
Animated 2D DNA Helix Path (Procedural Helix Expression)
-
Text Glitch Effect Expression (Real-Time Character Corruption)
-
Auto Scale to Comp (Smart Fit & Fill Scale Expression)
-
Snap to Layer or Comp Corners (Dynamic Alignment Expression)
-
Rainbow Color Cycle (Seamless HSL Color Loop Expression)
-
Christmas Lights Color Generator (Procedural Holiday Palette Expression)
-
Neon Light Flicker (Organic Electrical Glitch Expression)
-
Hanging Ornament Sway Animation (Natural Pendulum Rotation Expression)
-
Bell Shake & Ring Motion (Impact-Driven Oscillation Expression)
-
Heartbeat Pulse Animation (Biologically Accurate Scale Expression)