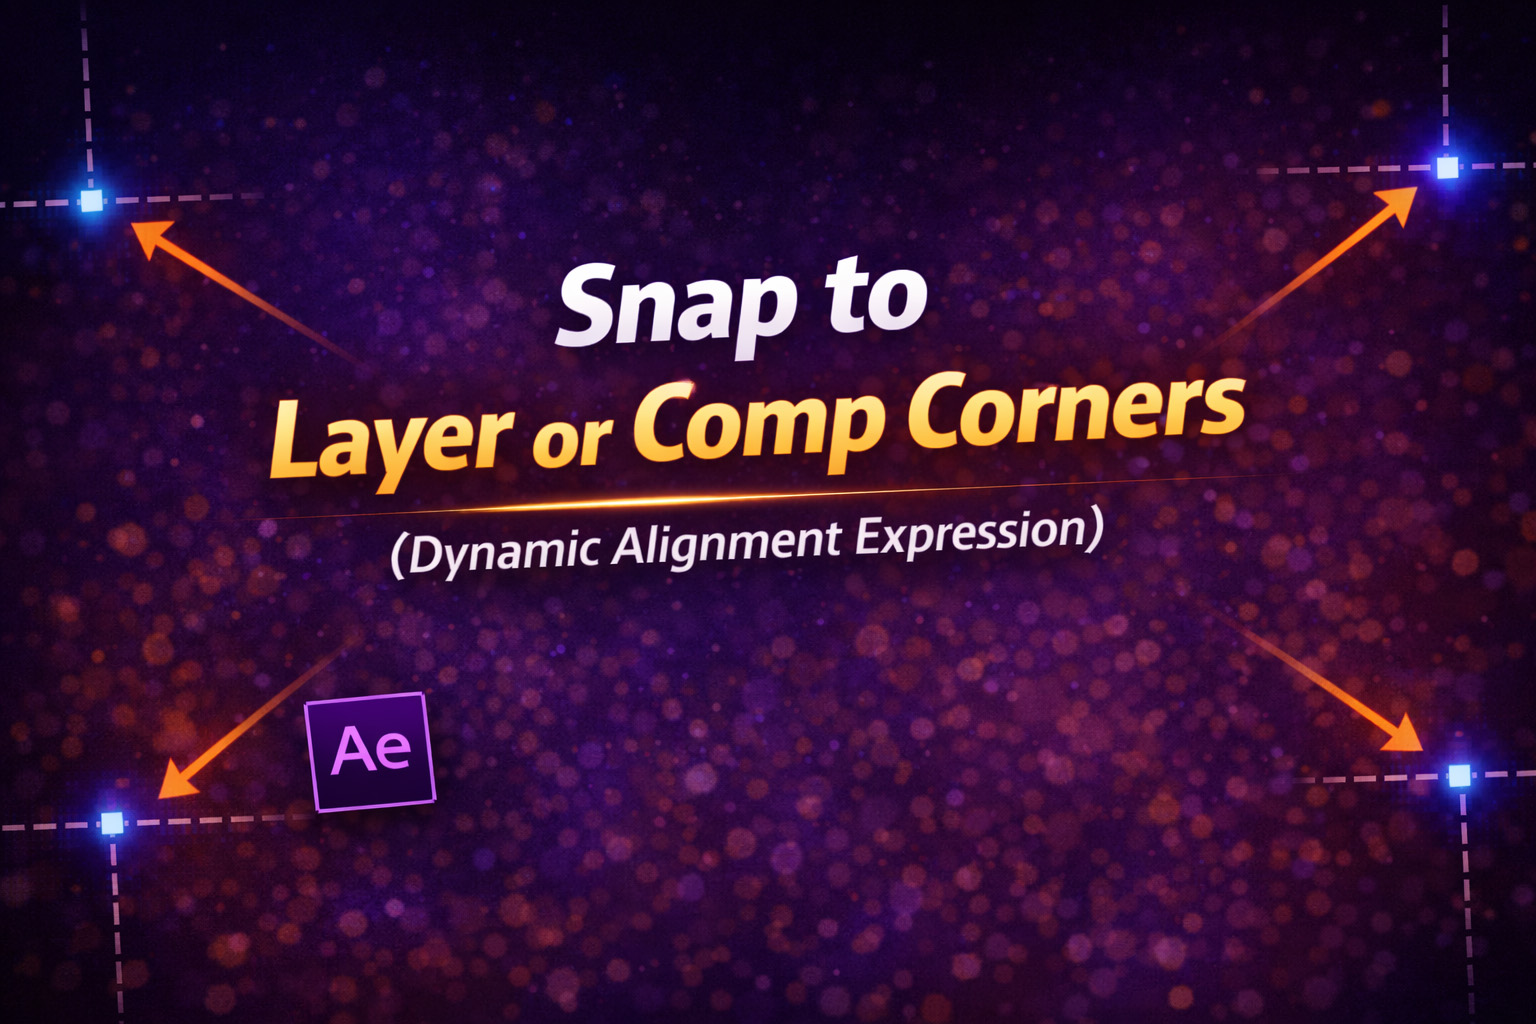
About This Expression
This expression acts like a smart snapping system inside After Effects. It lets you instantly align any layer to the edges, corners, or center of either the composition or another target layer.
Unlike manual alignment or guides, this setup is fully dynamic. If the comp size changes, or the target layer moves, scales, or changes text length, the snapped layer updates automatically—no re-positioning needed.
It’s especially useful for building responsive layouts, templates, and UI-style designs where alignment must stay perfect at all times.
What Makes This Expression Powerful
- Layer or Comp Targeting
Snap relative to the entire composition or another layer. - All 9 Anchor Positions
Center, edges, and all corners are supported. - True Bounding Box Calculation
UsessourceRectAtTime()so text, shapes, and scaled layers align correctly. - Fine Offset Control
X and Y sliders allow pixel-perfect nudging. - Auto-Updates
No keyframes, no re-alignment—everything stays locked in place.
Expression
snapTo = effect("Snap to (corner)")("Menu");
targetMode = effect("Snap to (target)")("Menu"); // 1 = layer, 0 = comp
targetLayer = effect("Target Layer")("Layer");
xOffset = effect("X offset")("Slider");
yOffset = effect("Y offset")("Slider");
w = thisComp.width;
h = thisComp.height;
var x = 0;
var y = 0;
if (targetMode == 1) {
 // Snap to LAYER
 r = targetLayer.sourceRectAtTime(time, false);
 var localPos = [0, 0];
 if (snapTo == 1) localPos = [r.left + r.width/2, r.top + r.height/2]; // Center
 else if (snapTo == 2) localPos = [r.left, r.top]; // Top Left
 else if (snapTo == 3) localPos = [r.left + r.width/2, r.top]; // Top
 else if (snapTo == 4) localPos = [r.left + r.width, r.top]; // Top Right
 else if (snapTo == 5) localPos = [r.left + r.width, r.top + r.height/2]; // Right
 else if (snapTo == 6) localPos = [r.left + r.width, r.top + r.height]; // Bottom Right
 else if (snapTo == 7) localPos = [r.left + r.width/2, r.top + r.height]; // Bottom
 else if (snapTo == 8) localPos = [r.left, r.top + r.height]; // Bottom Left
 else if (snapTo == 9) localPos = [r.left, r.top + r.height/2]; // Left
 worldPos = targetLayer.toComp(localPos);
 x = worldPos[0];
 y = worldPos[1];
} else {
// Snap to COMP
 if (snapTo == 1) {x = w / 2; y = h / 2; } // Center
 else if (snapTo == 2) { x = 0; y = 0; } // Top Left
 else if (snapTo == 3) { x = w / 2; y = 0; } // Top
 else if (snapTo == 4) { x = w; y = 0; } // Top Right
 else if (snapTo == 5) { x = w; y = h / 2; } // Right
 else if (snapTo == 6) { x = w; y = h; } // Bottom Right
 else if (snapTo == 7) { x = w / 2; y = h; } // Bottom
 else if (snapTo == 8) { x = 0; y = h; } // Bottom Left
 else if (snapTo == 9) { x = 0; y = h / 2; } // Left
}
[x + xOffset, y + yOffset];
How We Use This Expression
Step 1: Prepare the Layer to Snap
Select the layer you want to snap (text, shape, logo, UI element).
This expression is applied to the Position property.
Step 2: Add Expression Controls
On the snapped layer, add:
- Dropdown Menu Control → Rename to
Snap to (corner) - Dropdown Menu Control → Rename to
Snap to (target) - Layer Control → Rename to
Target Layer - Slider Control → Rename to
X offset - Slider Control → Rename to
Y offset
These controls act as your snapping UI.
Step 3: Apply the Expression
- Press P to reveal Position
- Hold Alt / Option and click the Position stopwatch
- Paste the full expression
- Click outside the editor
The layer will snap instantly.
Step 4: Choose Snap Mode
Using Snap to (target):
0→ Snap to Composition1→ Snap to Target Layer
If snapping to a layer, select it using the Target Layer control.
Step 5: Choose Snap Location
Using Snap to (corner):
- Center
- Top / Bottom / Left / Right
- All four corners
The layer will jump exactly to that position.
Step 6: Fine-Tune With Offsets
Use:
- X offset → horizontal nudging
- Y offset → vertical nudging
Perfect for margins, padding, or safe-area spacing.
Step 7: Build Responsive Layouts
This expression is ideal for:
- Lower thirds
- Titles & captions
- UI panels
- Logos locked to corners
- Templates that adapt to any resolution
Resize the comp or change text—the layout stays correct.
Best Use Cases in After Effects
- Responsive templates
- MOGRTs for Premiere Pro
- UI & HUD layouts
- Social media safe-zone alignment
- Auto-positioned captions & logos
Why This Expression Saves So Much Time
Manual alignment breaks the moment something changes. This expression turns positioning into rules instead of keyframes, making your projects faster, cleaner, and future-proof.
You get:
- Pixel-perfect alignment
- Zero maintenance
- Instant updates
- Full creative control
Recent Blogs
-
Create Procedural Spiral Path (Dynamic Vector Spiral Expression)
-
Animated 2D DNA Helix Path (Procedural Helix Expression)

-
Text Glitch Effect Expression (Real-Time Character Corruption)
-
Auto Scale to Comp (Smart Fit & Fill Scale Expression)
-
Rainbow Color Cycle (Seamless HSL Color Loop Expression)
-
Christmas Lights Color Generator (Procedural Holiday Palette Expression)
-
Neon Light Flicker (Organic Electrical Glitch Expression)
-
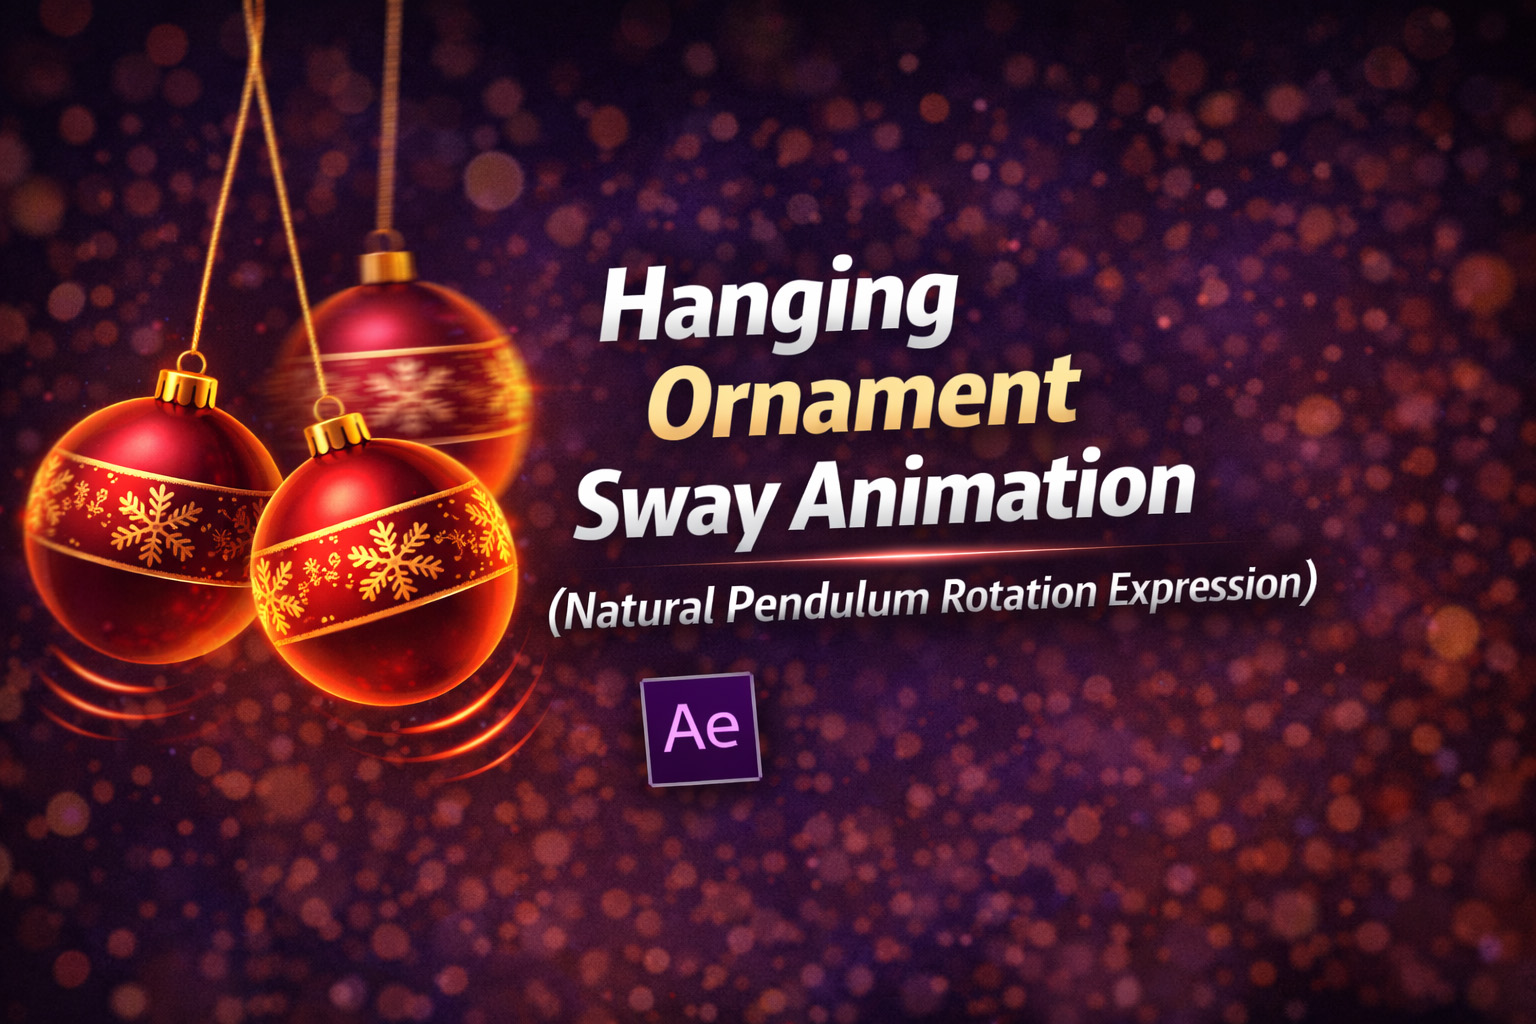
Hanging Ornament Sway Animation (Natural Pendulum Rotation Expression)
-
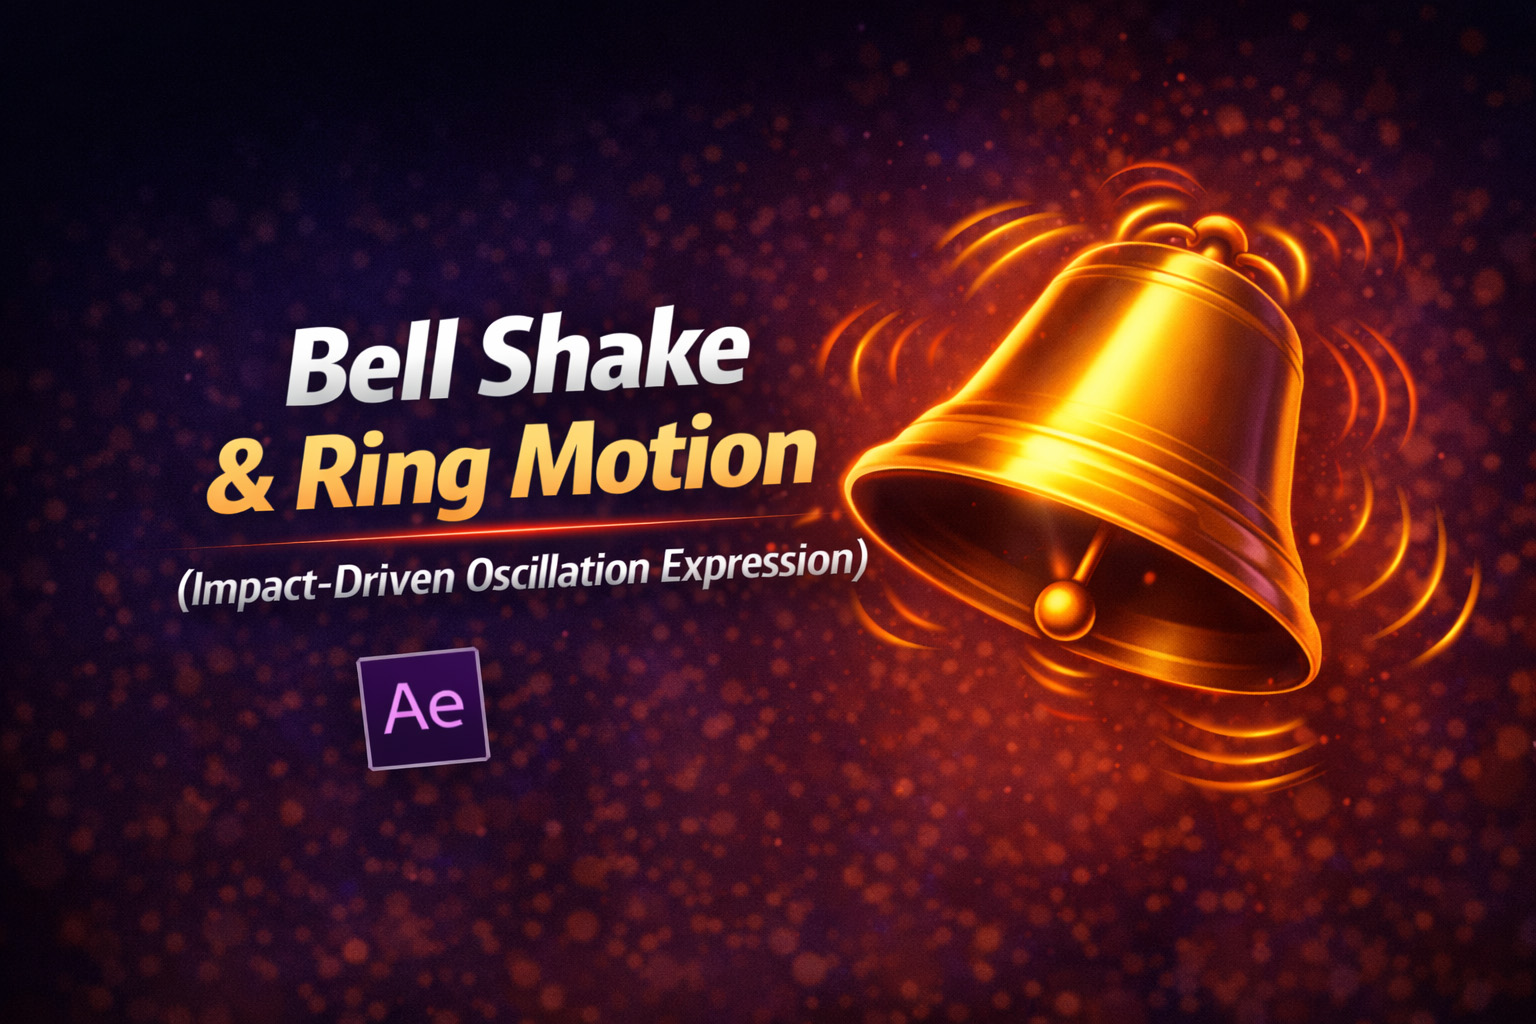
Bell Shake & Ring Motion (Impact-Driven Oscillation Expression)
-
Heartbeat Pulse Animation (Biologically Accurate Scale Expression)